3D Design · 2 min read
3D Product Rendering: Lighting Tricks for Believable Results
A practical guide to proportions, materials, reflections and camera angles that make a 3D product render feel convincing.
Start with the shape, not the shader
Before adding a glossy material, compare the model with reference photos from the front, side and top. Check proportions, corner radii and the thickness of small parts. A dramatic camera can hide a modelling mistake, but it will become obvious in the next shot. Use a neutral clay material for this review so reflections do not distract from the silhouette.
Use broad lights to describe the surface
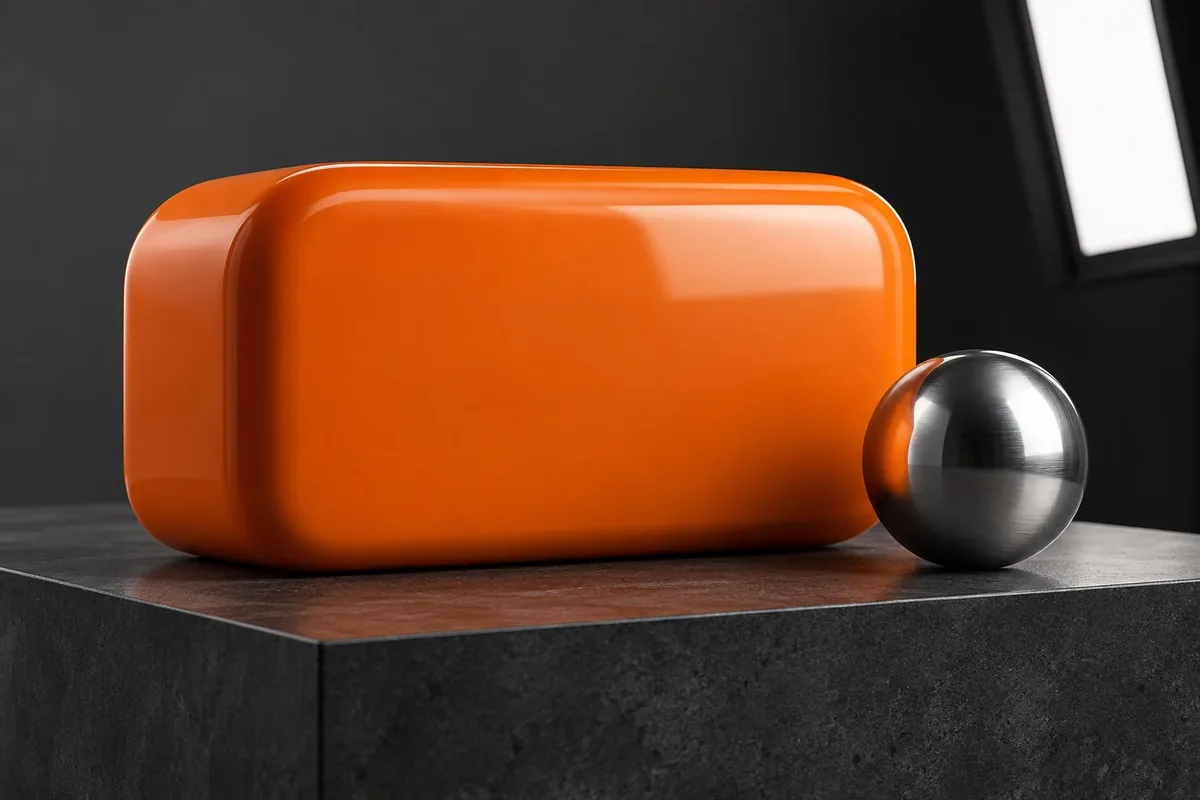
Begin with one large area light and a restrained fill. Move the key light until its reflection explains the shape of the product. A broad highlight makes a curved surface readable; an uncontrolled bright patch can erase it. Turn lights on one at a time when troubleshooting. Add a rim only when the silhouette needs separation from the background.
Give reflections something useful to show
A reflective object reads its environment. A metal surface in an empty black scene can look flat even with technically correct materials. Use simple light cards or a suitable environment, then rotate them while watching the highlights. For plastic, adjust roughness before increasing light intensity. A tiny bevel can catch light and keep hard edges from feeling unnaturally perfect.
Lock the camera before chasing detail
Choose a view that answers a real question: what is the product, how large is it, or how does a feature work? Avoid an extreme wide-angle lens when it distorts the object. Make a front-facing reference shot alongside the expressive composition. Keep material, camera and lighting changes separate so you can tell which adjustment improved the render.
Inspect at the size people will see
Render a small preview before committing to a long final render. Review it at the intended website or social-card size, not only at full resolution. If the silhouette disappears, adjust the contrast and angle rather than adding more detail. Keep a clean product view in the set: a 360-degree presentation or film supplements useful images rather than replacing them.
A repeatable final check
Compare the final render with your reference, inspect noisy shadows and clipped highlights, check the colour in your export workflow, and test the image in its actual layout. Deliver a clear hero angle and supporting detail views. A beautiful render should help someone understand the object, not merely demonstrate the lighting setup.